†
If you have already set a shutdown timer, but decided to edit it later on, follow this tutorial.
†
1. Log in to your Virtualizor Control Panel.
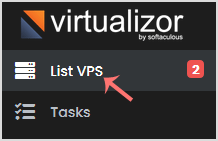
2. In the left side panel, click on List VPS.

†
3. Hover your mouse on the appropriate VPS, and that line will be highlighted. Then click on the Manage icon in the highlighted line.

†
4. Click on the Self Shut Down.
![]()
†
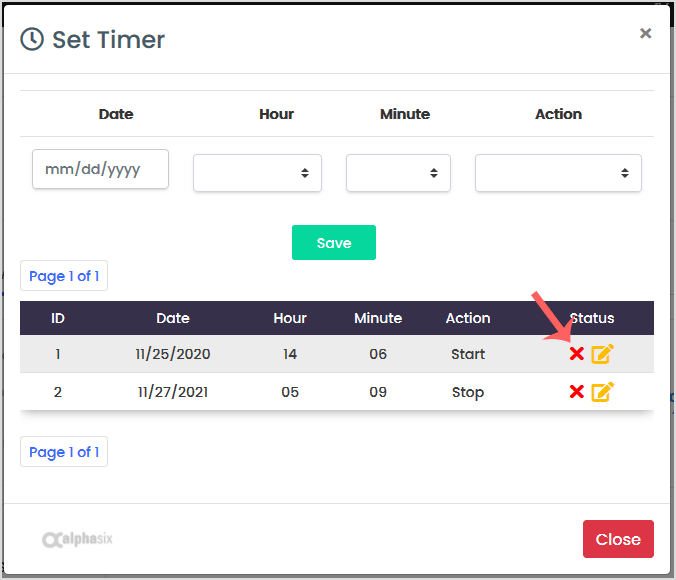
5. If you have multiple timers, hover your mouse on the appropriate one, and that line will be highlighted. Then click the Delete button in the highlighted line.

†
6. When asked, confirm with OK.
†

